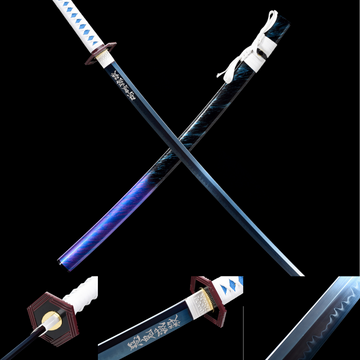
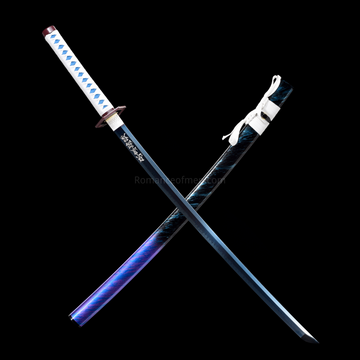
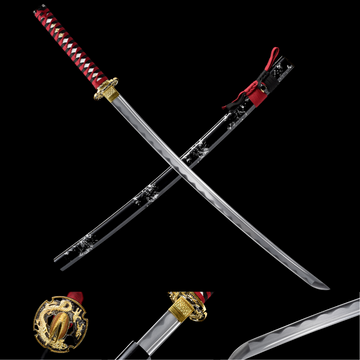
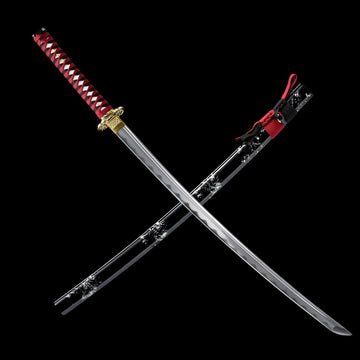
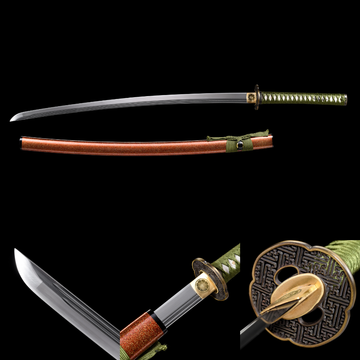
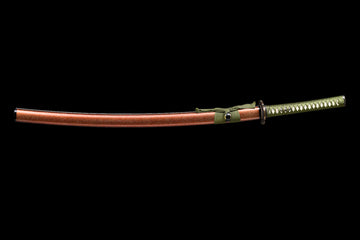
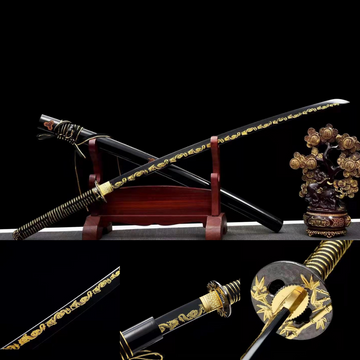
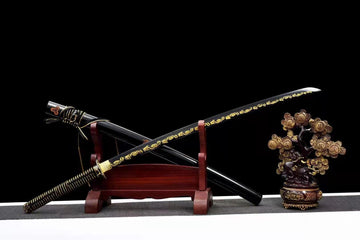
Tsukamaki the art of wrapping the katana handle
All About The Tsukamaki 柄巻
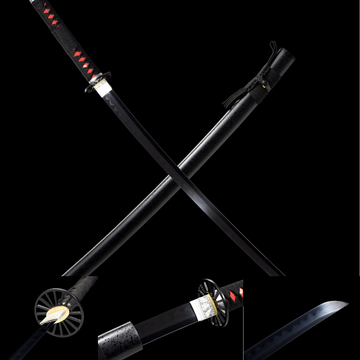
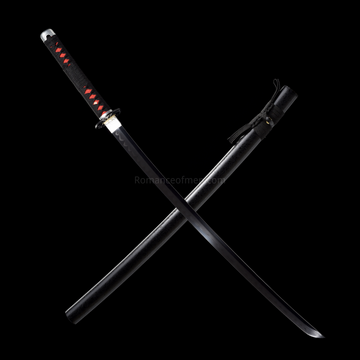
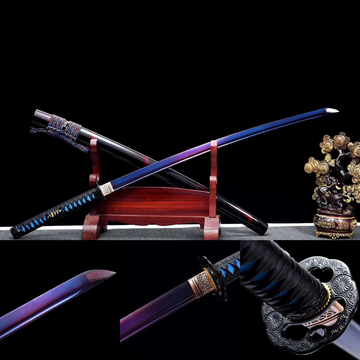
The katana is one of the world's most famous swords. Often, when people talk about a katana, they focus on the blade or the sheath(Saya). But there's another important part we shouldn't overlook: the Tsukamaki, or the handle wrapping. The Tsukamaki isn't just for looks, it's crucial for using the sword properly, offering enhanced grip and control. In this article, we'll dive into why the Tsukamaki is so important, look at the different materials and styles used, and give you all the things you need to know about this essential part of the katana.
Table of Content
- What Is Tsukamaki 柄巻?
- Material for Tsukamaki
- How to wrap a katana handle?
- Tsukamaki Types
- Importance of Tsukamaki
What Is Tsukamaki 柄巻?
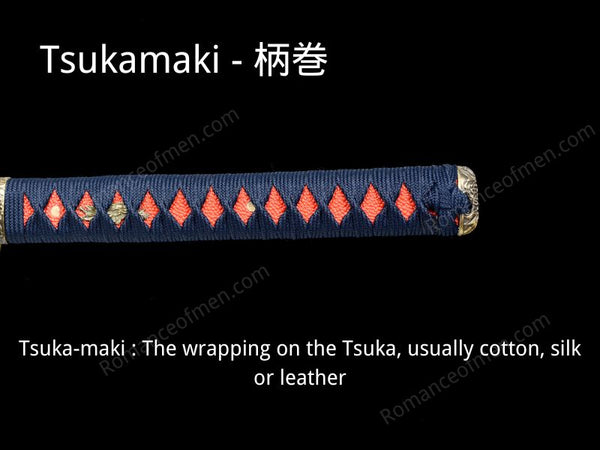
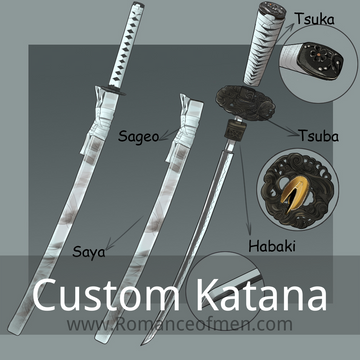
Tsukamaki in Japanese literally means "Handle wrapping", tsuka 柄 for handle, and maki 巻 for wrapping. Tsukamaki start from the Fuchi (collar) and ends under the Kashira (End cap) on the handle. It plays a significant role in the Japanese katana, it enhances comfort and grip when holding the sword. The cords for wrapping is called Tsukaito "柄糸", and the craftsmen are called Tsukamaki-shi "柄巻師".
Tsukamaki comes in various colors and designs. Generally, the primary materials for making the handles are silk or cotton, chosen for their durability and texture. While some tsukamaki designs prioritize functionality, particularly for combat purposes, there are some designs focus on aesthetics, enhancing the sword's visual appeal.
History of Tsukamaki
Tsukamaki, the art of sword handle wrapping, has evolved through Japanese history, starting from the Kofun period, we can see handle wrapping on straight swords like chokuto, like the 環頭大刀 "keikantou no tachi" was wrapped with silver wire using a technique called 片手巻 "katate maki."

Image source: emuseum.nich.go.jp
By the Heian period, more intricate designs were created, such as the hirumaki technique, used thin metal plates for both decoration and reinforcement. The practice of using cords or threads became popular by the Kamakura period. In the Edo period, tsukamaki mainly used leather and pure silk cords, with ray skin (Samegawa) underneath to prevent slipping, these tsukamaki reflects a blend of functionality and decorative sophistication in peaceful times.
*Some said during peaceful time, using leather to wrap tsukamaki means you are considering rebellion. Some swordsmith againest the use of leather tsukamaki.
Material for Tsukamaki
The cords for Tsukamaki is called Tsukaito "柄糸". 糸 "Ito" in Japanese means "thread" or "string." The threads used for handles are mainly braided cords or leather. For braided cords, the most common materials are silk and cotton. Depending on how they are braided and their width, there are various types of Tsukaito.
Accordion Thread (Jabara Ito - 蛇腹糸):

Image source: namikawa-ltd.co.jp
This thread is made by combining one thin thread twisted from left to right (right twist) and another thread twisted from right to left (left twist). When wrapping handles, four threads are combined into one set: two with a right twist and two with a left twist.
Standard Combination Thread (Tsunegumi Ito - 常組糸):
Like the accordion thread, this is made by combining a right twist thread and a left twist thread, using an even number of threads to create a braided cord.
Korean Combination Thread (Kourai Kumi Ito - 高麗組糸):
This thread, which originated from the continent, has a flat braid with less visible weave patterns. It can incorporate different colors to create various designs, like letters or family crests, and is often used in high-quality sword handle wrappings.
Bamboo Wave Combination Thread (Sasanami Kumi Ito - 笹浪組糸):

This braid appears as a continuous V-shaped pattern, resembling arrow feathers or hawk feathers.
Ridge Combination Thread (Unegumi Ito - 畝組糸):
This braid has vertical ridges in its pattern. When the ridges are oriented in one direction, it's called "Kataune Uchi" (片畝打), favored by the samurai of Higo Domain (now Kumamoto City, Kumamoto Prefecture).
Dense Combination Thread (Shigekumi Ito - 繁組糸):
This is a relatively thick braid with prominent weave patterns, used in sword handle wrappings like those for "Itomaki Tachi."
Leathers Tsukaito

Image source: amazon.co.jp
Other than cotton cords, pig, cow and deer leather was also used as Tsukaito material. Compare with cotton cords, leather has exceptional softness and smoothness that enhance grip comfort. Additionally, its excellent moisture release properties prevent the handle from becoming damp and developing unpleasant odors, further contributing to its longevity and user comfort.
However, for some people, leather tsukamaki might feel slippery. Leather and cotton cords each has pros and cons, it's more of a personal choice.
How to wrap a katana handle?
Katana handle wrapping is truly an art form, usually performed by skilled craftsmen called Tsukamaki-shi "柄巻師". Mastering the tsukamaki skill takes years of experience, It's not something that's easy for everyone to do right away, but that shouldn't stop you from giving it a try. Wrapping your katana's handle is not just a fun activity, it's a way to connect with your sword on a deeper level. If you want to learn it, here is a step-by-step guide for how to wrap a katana handle
Preparation before wrapping:
Secure the Handle: Use a handle stand or chest to secure the handle. If unavailable, find a stable method to secure the handle while you work.
Clean and Smooth the Handle: Clean any dirt off the ray skin or handle. File down any protruding edges for a smooth fit.
Measure and Mark: Determine the width of the hishigami (Craft Paper) and tsukaito using a ruler. Mark the handle to guide your wrapping.
Prepare the Hishigami: Roll and soften newspaper or Japanese paper. Cut it into 15 mm wide strips, then fold these strips into triangles.
Prepare the Tsukaito: Measure and cut the tsukaito to the appropriate length, typically twice the length of the handle. Choose your desired color and material.
Apply Double-Sided Tape (Optional): For beginners, apply double-sided tape along the top and edge of the handle to secure the tsukaito.
Katana Handle Wrapping Steps:
Check the Thread: Identify the front (表) and back (裏) sides of the tsuka and tsukaito.
Position the Thread: Fold the tsukaito to find the midpoint and align it with the edge of Fuchi on the handle's front side.
Set the Thread Orientation: Ensure the thread faces the handle's spine (mune) side, with the left end's weave facing upwards.
Flip the Handle: Prepare for wrapping by flipping the handle.
Determine the Starting Side: For an even number of diamonds, start from the right; for odd, start from the left.
Begin Wrapping: Start twisting inward, placing a triangular piece of hishigami under the tsukaito.
Continue Wrapping: Follow the twisting method, ensuring you maintain the direction and tightness.
Add Craft Paper on the Opposite Side: Position another piece of hishigami inside the tsukaito on the opposite side.
Wrap the Bottom Thread: Envelop the hishigami with the bottom thread by twisting it.
Finalize the Wrap: Ensure the hishigami is fully enveloped. After wrapping, tighten the tsukaito.
Complete the First Twist Wrap: Finish the initial twist wrap on the back side.
Securing the Wrap:
Flip for Back Side Securing: After wrapping up to the handle's head, flip the handle to start securing the tsukaito on the back side.
Start with the Top Thread: Use the top thread from the front side, now on the back, and add hishigami underneath.
Thread and Tighten: Pass the thread through the diamond and tighten.
Secure the Top Side of the Diamond: Use a needle to pass the tightened thread underneath the top side of the diamond.
Final Adjustment: Roll the thread for a neat finish.
Thread through the Kashira Cap: Fold the threads and pass them through the cap's hole.
Adjust the Diamonds: Ensure evenness and security.
Front Side Knot Securing:
Flip to the Front Side: Start securing the front side.
Thread Under the Diamond: Pass the thread under the front side diamond.
Wrap and Thread: Wrap the thread around and tighten.
Fold and Pinch: After threading, fold and secure the tsukaito.
Thread through the Bottom: Pass the thread under the diamond and tighten.
Wrap around the Kashira Cap: Ensure the tsukaito is secured.
Tighten and Trim Excess: Trim any excess thread and tuck the ends into the diamond to hide them.
By following these steps, you'll achieve a securely wrapped and aesthetically pleasing katana handle, enhancing both its functionality and appearance.
Tsukamaki Types
The purpose of wrapping the handle is not only to reinforce it but also to make the katana look more fascinating. If you look closely at the handle wrapping, you'll notice differences in the way it's done. There are many styles for katana handle wrapping, involving pinching and twisting the thread, and by using threads of different colors and patterns, each style gives a unique character to the katana. Here we will introduce some popular types of handle wrapping techniques:
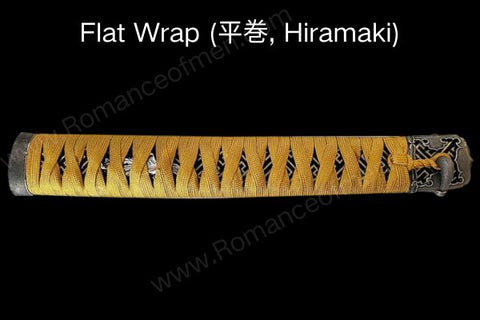
Flat Wrap (Hiramaki 平巻): This technique involves arranging flat-woven cords in an intersecting pattern to create a smooth, level surface without protrusions, mainly used on Tachi (太刀) swords, notably the Ito-maki Tachi (糸巻太刀).
One-handed Wrap (Katate Maki 片手巻): This method wraps the cords around the handle in a spiral pattern tightly without crossing, considered the foundational technique for katana handle wrapping.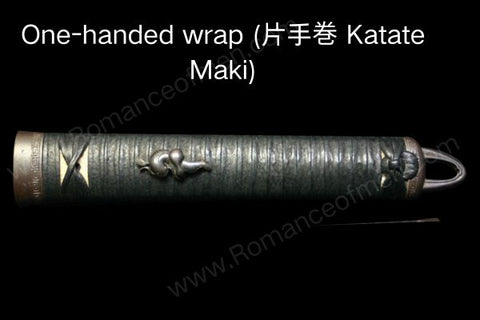
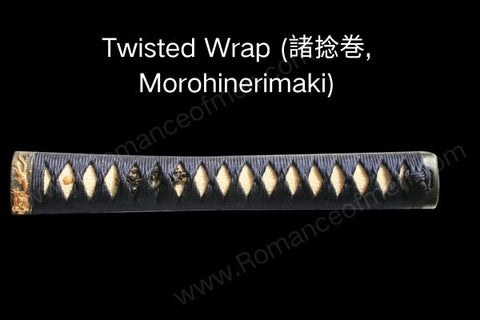
Twisted Wrap (Morohinerimaki 諸捻巻): Both the upper and lower cords are twisted before wrapping, resulting in a textured surface less prone to loosening.
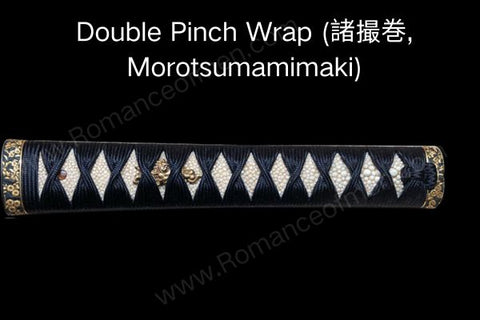
Double Pinch Wrap (Morotsumamimaki 諸撮巻): Involves pinching both cords before wrapping, creating a distinct, raised overlapping design, commonly seen in modern decorative sword handles.
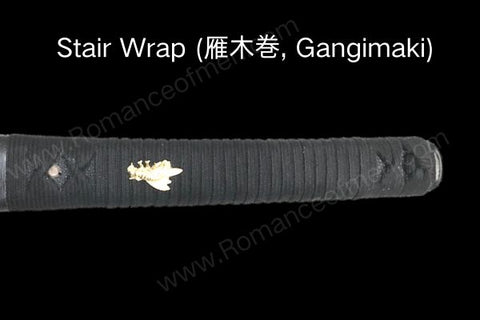
Stair Wrap (Gangimaki 雁木巻): Cords are aligned side by side in a step-like sequence, resembling a formation of flying geese, also known as "Musashi Wrap" (武蔵巻) after the famed swordsman Miyamoto Musashi.
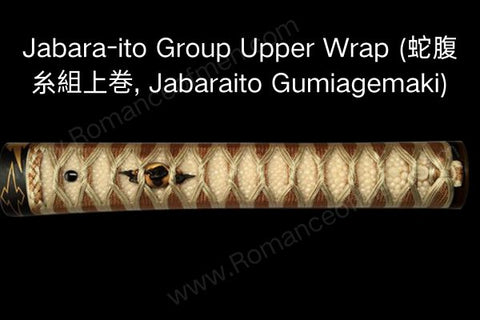
Jabara-ito Group Upper Wrap (Jabaraito Gumiagemaki 蛇腹糸組上巻): Wraps the cords in layers to create a pattern reminiscent of snake scales.
Additional Katana Handle Wrapping Styles:
Line Wrap (Shinomaki 篠巻): Wrapping three cords as a set, with the center cord twisted and the others folded back.
Entwined Wrap (Karamemaki 絡巻): Similar to Shinomaki, but with twisted side cords.
Knot Wrap (Musubimaki 結巻): A technique where the side cords in Shinomaki are tied into knots.
Twisted Wrap (Nejirimaki 捩巻): The top and bottom cords are twisted twice before wrapping.
Straight Wrap (Mojikake/Makimodoshi 文字掛け・巻戻し): Wraps flat cords directly around the handle without twisting.
Pinch and Twist Wrap (Katatsumamimaki 方撮巻): Pinching the top cord and twisting the bottom one before wrapping.
Importance of Tsukamaki
Handle wrapping on a katana is vital for ensuring a secure grip, controlling the sword effectively, absorbing shock, and protecting the user's hands from slipping. Beyond its practical purposes, the wrapping enhances the sword's aesthetics and preserves the handle's integrity, extending the sword's life. It also holds cultural and historical significance, reflecting the craftsmanship and traditions of Japanese sword-making.
What is a good katana handle wrapping
First of all, a good katana handle wrap should be very tight, with no cords out of place even you push it very hard. Only the top level tightness can maintain a firm grip and prevent any shifting that could affect the sword's handling.
The visual aspect is equally important, with the diamond pattern created by the wrapping needing to be even and symmetrical, enhancing the sword's aesthetic and showcasing the meticulousness of the craftsmanship.
Additionally, the transitions in the wrapping must be smooth, without any abrupt edges or bumps, to ensure comfort for the user and a seamless, polished appearance. This attention to detail in the wrapping reflects the overall quality and care put into the sword's creation.
Conclusion
A Katana's Ito wrap has a purpose beyond mere aesthetic appeal. By now, you should know many things about the Tsukamaki. Hopefully, you've found this article helpful. Thanks for reading and for more katana parts please check this guide.
